
If you are an electronics enthusiast, want to learn the basics of electronics, and improve your basics with some practicals and hands-on projects, then this article is for you. In this article, we are going to look at the top 10 mini-projects that you can build very easily and can help you understand the function and workings of different electronic components.
1. DIY Smart Electronic Candle using LDR
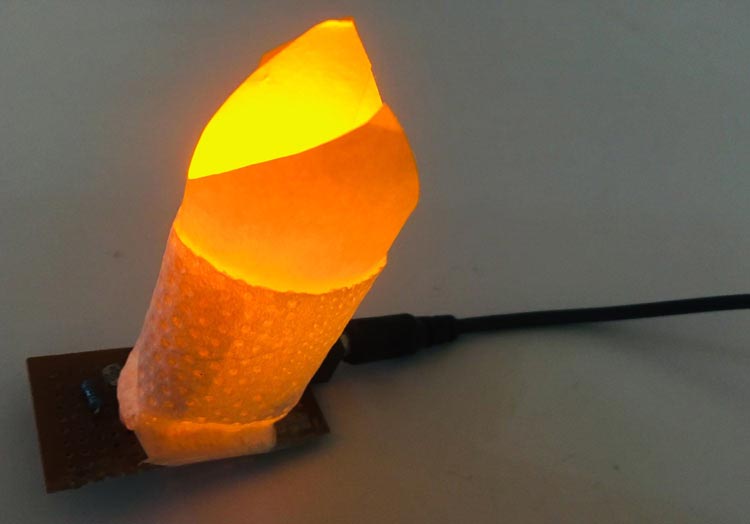
Ordinary candles work fine but they melt away pretty fast making the place nasty, and at times if unattended, it can also lead to fire hazards. This DIY Smart Electronic Candle utilizes an LDR (Light Dependent Resistor) and an LM358 IC to create a flameless candle. When darkness falls, the LDR's resistance increases, triggering the LM358 IC, which, in turn, lights up an LED, mimicking the glow of a real candle. The circuit is calibrated using a potentiometer to adjust sensitivity, ensuring it activates in low-light conditions. Powered by a low-voltage source such as a lithium battery, this project provides a safe and aesthetically pleasing alternative to traditional candles, perfect for decorative or ambient lighting purposes.
Link: DIY Smart Electronic Candle using LDR
2. Fridge Door Alarm Circuit using 555 and LDR
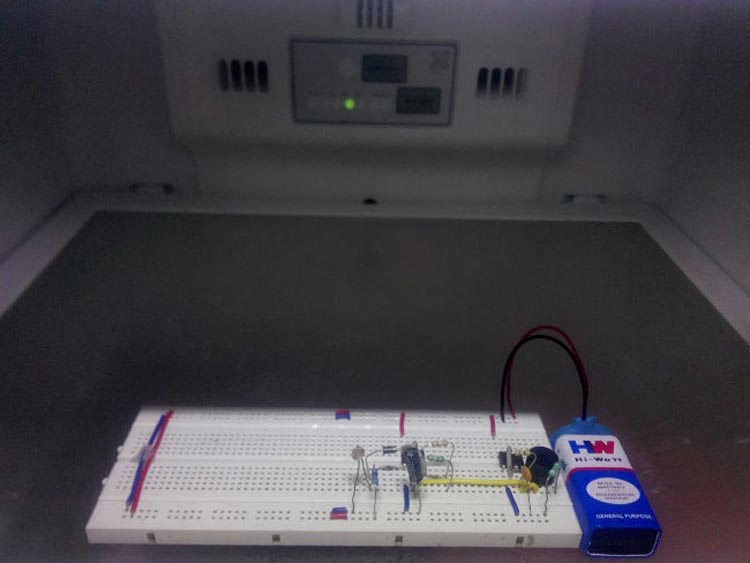
This fridge Door Alarm Circuit is a good solution that will inform the user about the door in prolonged open. This circuit triggers the alarm if the door of the Fridge is left open for a long time.
As soon as we open the Door of the refrigerator, LDR senses it and starts the countdown using the 555 Timer, and after a preset time, the buzzers start beeping as an alarm signal.
Link: Fridge Door Alarm Circuit using 555 and LDR
3. 555 Timer Based Electronic Code Lock Circuit
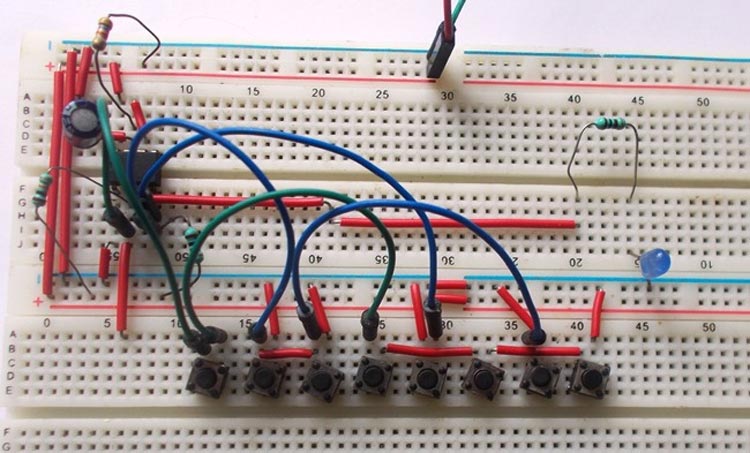
The 555 Timer Electronic Code Lock Circuit is a digital security system that requires pressing specific four buttons simultaneously to unlock. Utilizing a 555 IC in monostable mode, it operates without a microcontroller. When the correct combination is entered, an LED stays on for around 5 seconds, indicating access. With 8 buttons, the lock offers 40,000 unique combinations, enhancing security. The system's simplicity lies in its straightforward design and lack of complex electronics, making it an efficient and accessible solution for digital code-based locks.
Link: 555 Timer Based Electronic Code Lock Circuit
4. Clap Switch
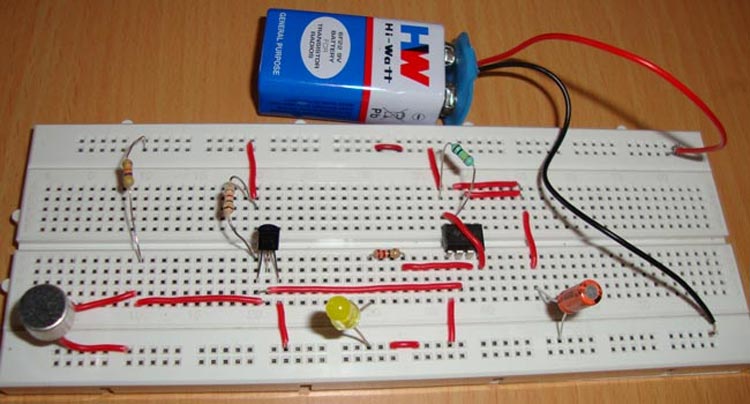
The Clap Switch project is an ingenious electronic circuit that turns on a light or device in response to a clap sound. Utilizing an electric condenser microphone as a sound sensor, the circuit translates the sound energy into electrical signals. When a clap or similar sound is detected, the microphone triggers a transistor, activating a 555 timer IC. The IC, in turn, illuminates an LED for a specific duration before automatically switching it off.
Link: Clap Switch
5. Fire Alarm using Thermistor
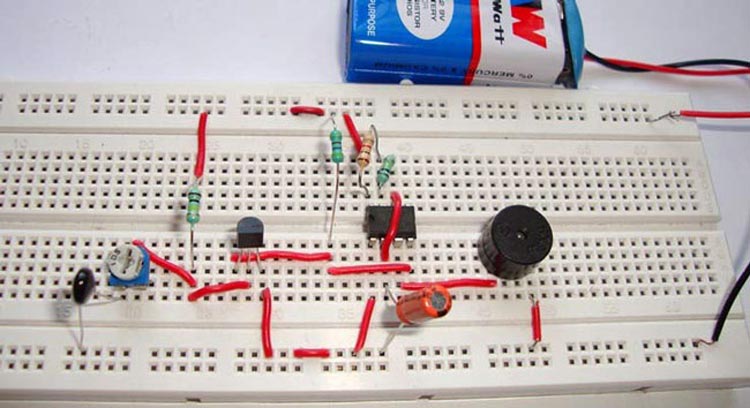
The Fire Alarm using Thermistor project presents a simple yet effective fire detection system. It utilizes a Thermistor, NPN transistor, and a 555 Timer IC to sense temperature changes indicative of a fire. When the Thermistor detects a rise in temperature, its resistance decreases, triggering the transistor to turn off. This action activates the 555 Timer IC, which generates an oscillating signal to drive a buzzer. The circuit's sensitivity is adjustable using a variable resistor.
Link: Fire Alarm using Thermistor
6. Simple Battery Level Indicator using Op-amp
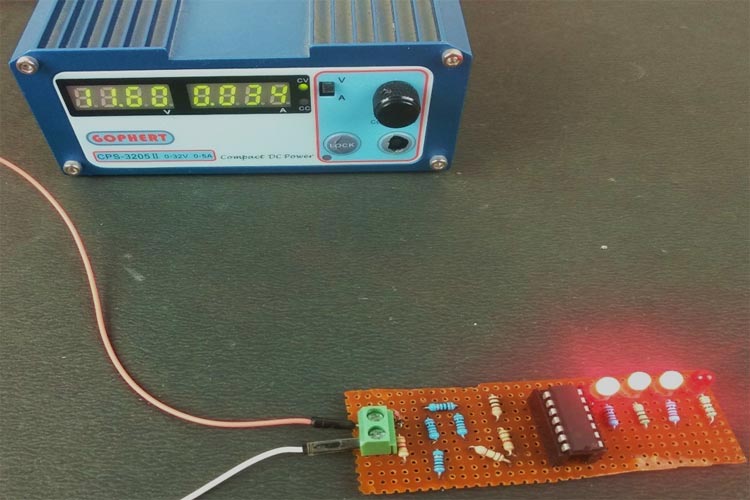
The "Simple Battery Level Indicator using Op-amp" project is a straightforward and effective solution for monitoring 12V batteries. Leveraging the LM324 Quad Op-amp IC, it employs a reference voltage system with Zener diodes and resistors to establish specific voltage thresholds. When compared to the battery voltage, LEDs light up to indicate the charge level, eliminating the need for complex calculations. Its simplicity and cost-efficiency make it suitable for diverse applications, such as portable electronics and automotive systems.
Link: Simple Battery Level Indicator using Op-amp
7. Solar Powered Cell Phone Charger Circuit:
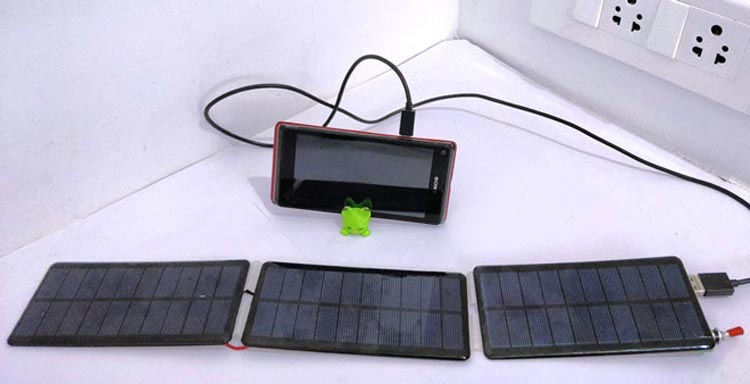
The "Solar Powered Cell Phone Charger Circuit" project offers a practical solution for charging mobile phones using solar energy. It utilizes three 5.5V 245mA Monocrystalline solar panels connected in parallel to provide a stable 5.5V and 735mA output. A 5V Boost Converter ensures constant voltage, and a switch controls the charging process. The circuit's efficiency was confirmed using the "Ampere" app, demonstrating its effectiveness in charging a mobile phone even under varying solar radiation.
Link: Solar Powered Cell Phone Charger Circuit
8. DIY Musical Doorbell Circuit using UM66T
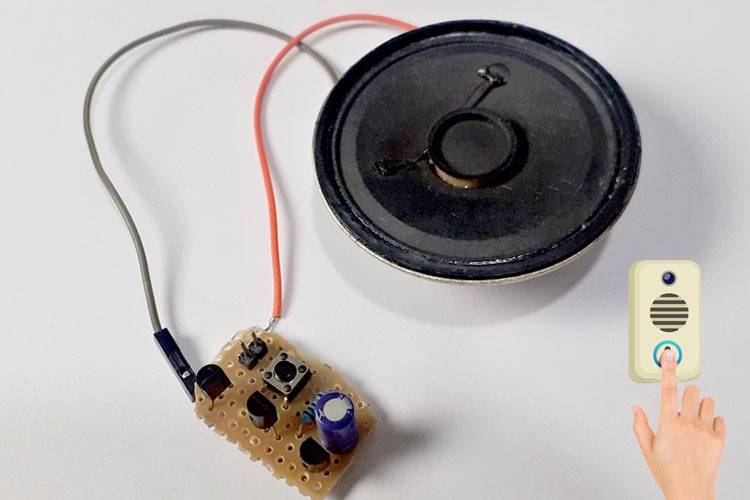
The "DIY Musical Doorbell Circuit using UM66T" project empowers enthusiasts to create a musical doorbell with minimal components, including UM66T-19L Melody Generator IC, transistors, resistors, and a speaker. This accessible tutorial guides users through assembling the circuit, utilizing a time delay feature to control the musical tone duration upon button press. The UM66T IC, operating between 1.5V to 4.5V, generates specific tunes when triggered. Transistors amplify the IC's output before reaching the 8-ohm speaker, ensuring audibility.
Link: DIY Musical Doorbell Circuit using UM66T
9. DIY Foam Cutter Using the IRF540N MOSFET
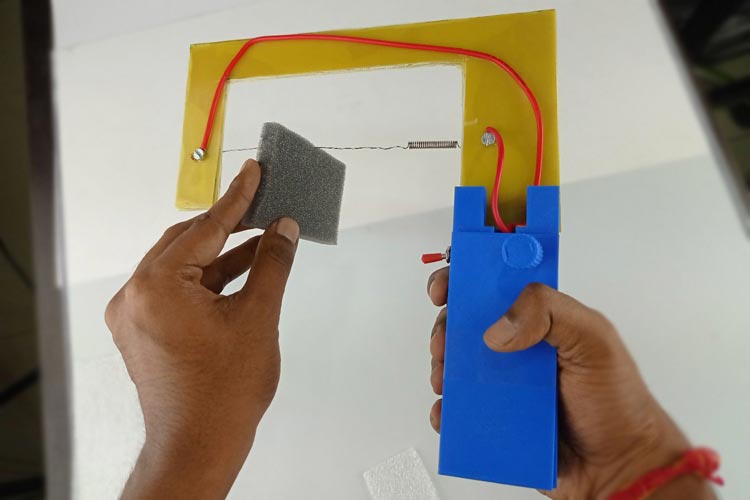
The "DIY Foam Cutter Using the IRF540N MOSFET" project introduces a portable hot wire foam cutting tool designed for crafters and hobbyists working with Styrofoam and polystyrene. Utilizing Nichrome wire and an IRF540N MOSFET, this DIY tool offers precise control over heat, enabling intricate designs and models. The circuit features a 2S 3A Battery Protection BMS for efficient power management and longer battery life. A 3D-printed case houses the components, ensuring portability and durability. With adjustable heat settings through a 100KΩ potentiometer, users can tailor the tool to their specific needs.
Link: DIY Foam Cutter Using the IRF540N MOSFET
10. Simple Wireless Power Transmission Circuit to Glow an LED
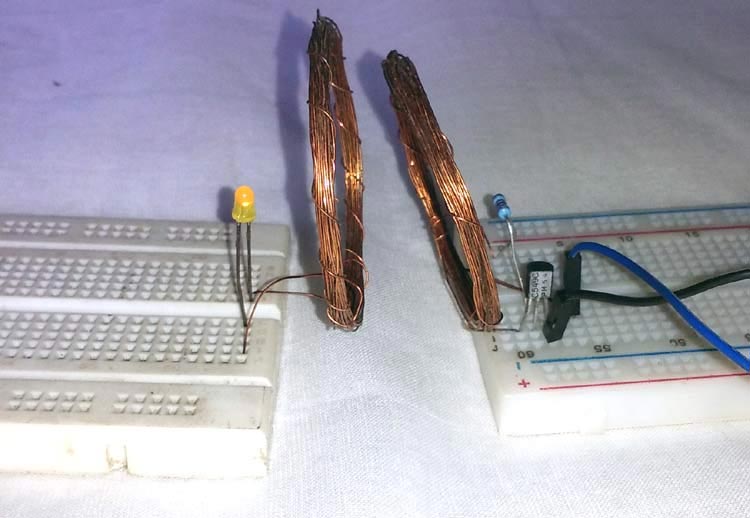
The "Simple Wireless Power Transmission Circuit to Glow an LED" project illustrates wireless electricity transfer principles using a transmitter and receiver setup. Utilizing coils and a transistor, the transmitter generates a high-frequency electromagnetic field. The receiver captures this field's energy and illuminates an LED without physical connections. While limited in power, the project showcases fundamental wireless energy transfer concepts.
Link: Simple Wireless Power Transmission Circuit to Glow an LED


