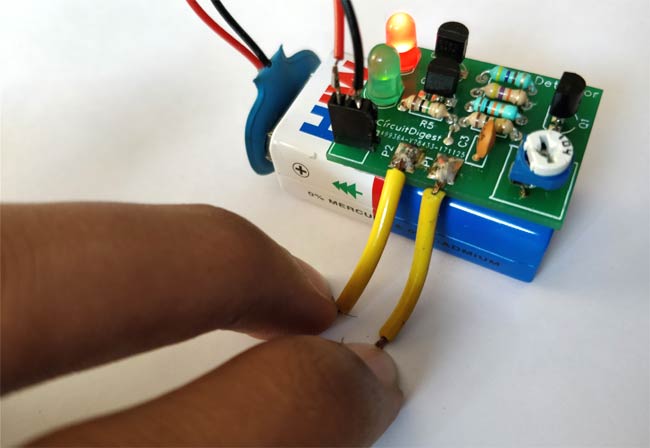
Electronics has always been fun to play with, once we learn the very basics of how each component works and how to use them in our circuit it’s fairly easy to design, simulate and fabricate our ideas into a PCB. In this project let’s build a simple fun circuit, analyse it and then fabricate a PCB to improve our learning curve. The concept behind this Lie Detector Circuit is that, we assume when a person lie he kind of pumps up his anxiety level which makes him sweat and develop moisture on his skin. We then use this piece of circuit to detect if there is moisture on his skin and based on the result we glow and LED, a green one for truth and red for lie. Of course yes this cannot be claimed as a lie detector, but you can use this to play with your friends and have fun. More than that you get to learn stuff. So Let’s get started…
Materials Required:
- Bread board
- BC547 Transistor (3Nos)
- LED (2 Nos)
- Capacitor (100nF)
- Resistors (1M, 10K, 470, 47K)
- Potentiometer (50K or 100K)
- Connecting wires
Circuit Diagram and Explanation:
Let’s not jump into the circuit diagram straight away. Give yourself a minute to think how this Lie Detector Circuit would actually be. So we have two LED’s which has to be turned on or turned off based on the resistance measured (it’s related with moisture) between two finger. How can we actually go with this?
Since we are switching LED obviously we need transistors and value of resistor measured between two fingers will not vary much with respect to moisture so we need some kind of amplifier which could also be made using a transistor. Enough clues! try something on your own and then look into the circuit diagram below:
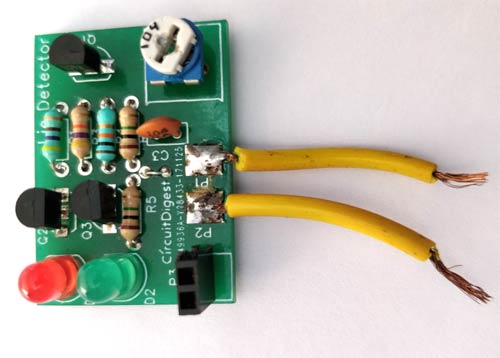
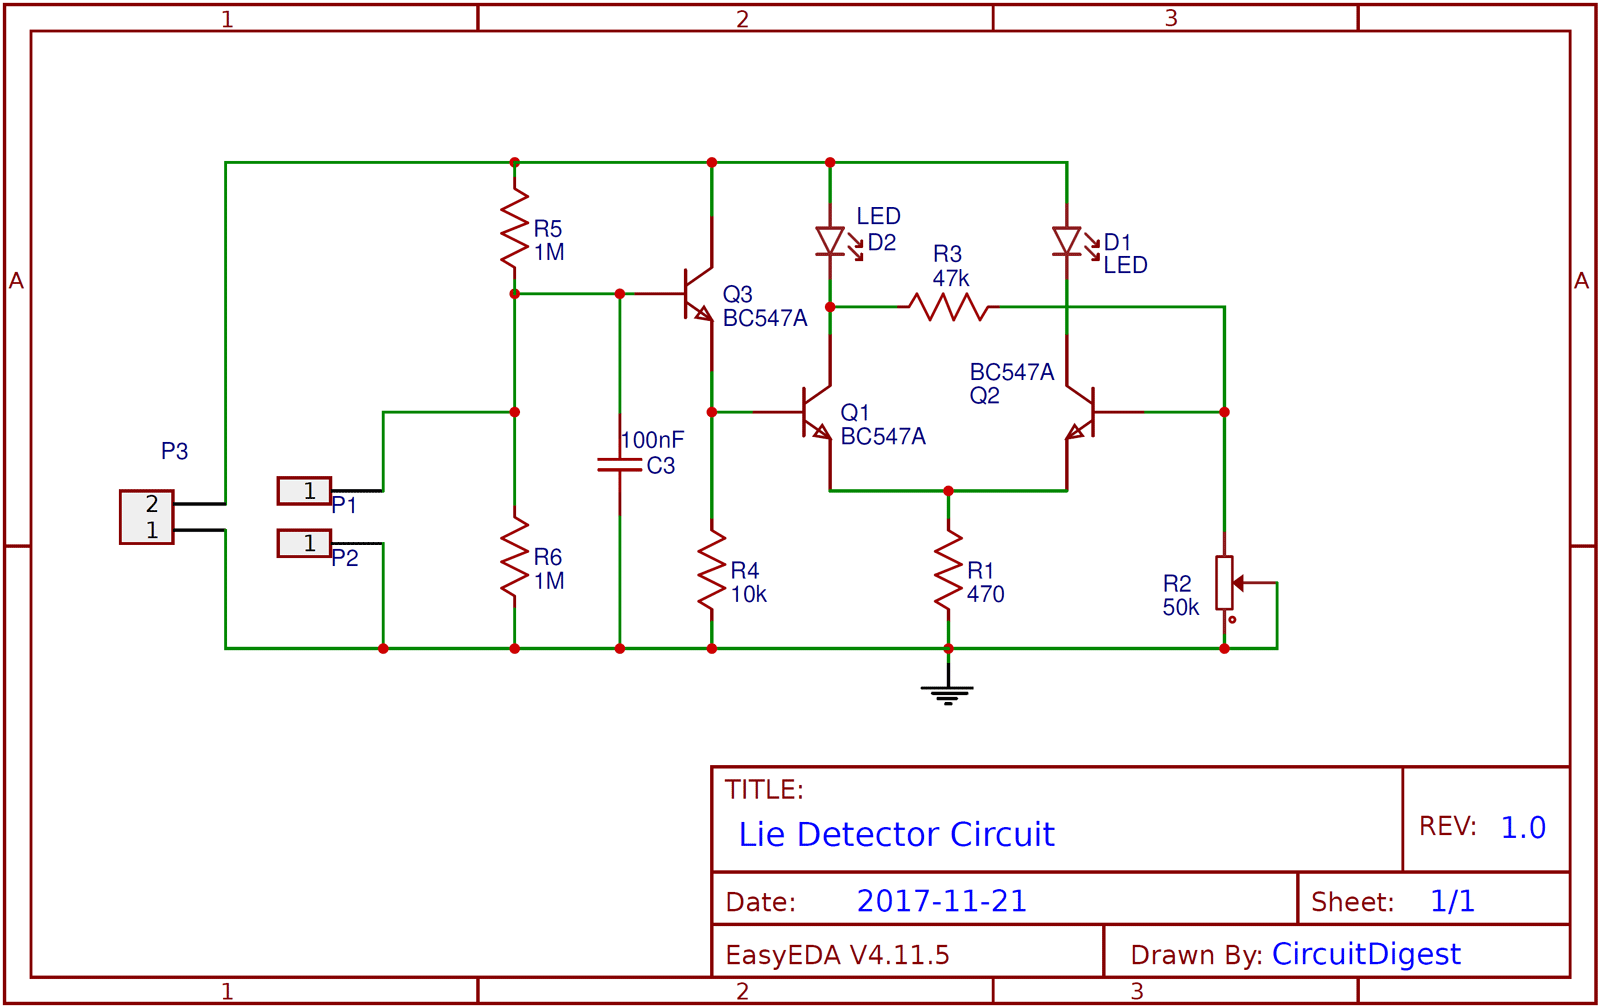
This is the circuit that we are going to use. The connector P3 is for supply voltage (2 is +9V and 1 is ground). The pads P1 and P2 are the place where you have to place your fingers. Now let’s analyse this to know how it works.
If you take a closer look you can find that the transistor Q3 and Q1 decides the status of LED D2 and the transistor Q2 decides the status of LED D1. The Resistor R5 and R6 form a potential divider in which the value of R6 is subjected to change since it has the pads P1 and P2 across it. So whenever the fingers are placed the value of R6 will vary. This variation affects the base voltage of the transistor Q3. The transistors Q3 and Q1 are connected as a Darlington pair hence small variation of base voltage Q3 will affect Q1. Hence based on the resistance of the finger the transistor Q1 and Q3 will decide either to turn on or turn off the LED D2.
The LED D2 will turn on only if the Transistor Q1 is on, but when this transistor goes on the voltage to the base of Q2 transistor will be low thus keeping the LED D1 turned off. The base voltage of the transistor Q2 can be controlled by the Potentiometer (50K). So, you can use this potentiometer to set the sensitivity of the circuit.
Working concept of Lie Detector Circuit:
The above circuit was simulated in ISIS Proteus to check if it works as expected. It is always recommended to test your circuit with simulation before actually building them. In the simulation the resistor R6 is assumed to be the resistance of the finger. When no finger is placed the value of resistor is infinity. So simulate that condition I have just mentioned the value to be 99999K.
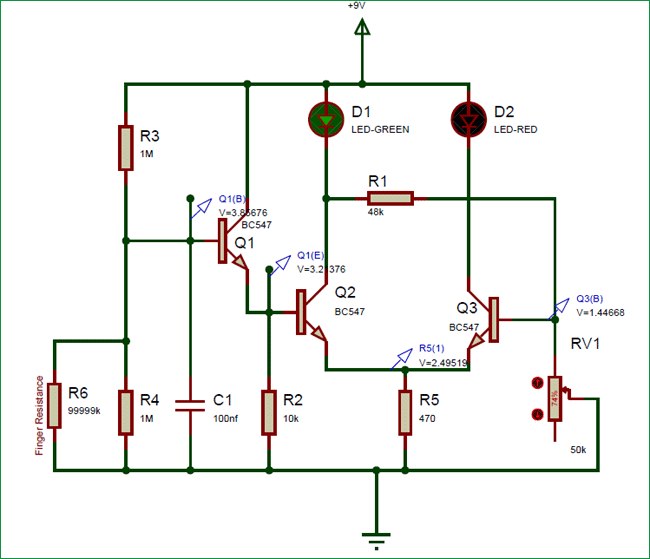
The green LED has turned on when no finger is placed because, the base voltage of Q1 and Q2 is around 3.2 voltage and hence the transistor is on making the Green LED to glow. At the same time since the Transistor Q2 is turned on, the base voltage across the transistor Q3 drops to be around 1.4V which will keep the transistor Q3 in off and hence the Red LED is turned off.
Now let’s assume we have placed our finger across the resistor R4 and hence the value of R6 falls to 50 ohms. This will affect the value of resistor R4 and hence the red LED glows as shown below.
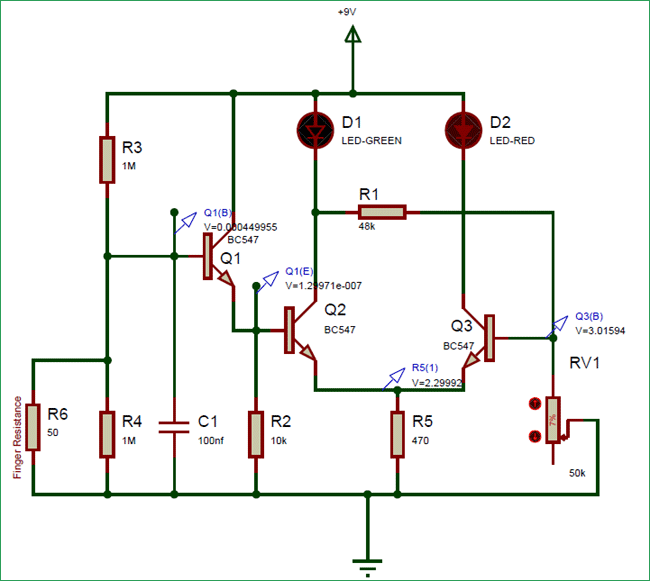
Now the voltage drop across resistor R4 is less and hence the base voltage of Transistor Q1 and Q2 is almost 0V as shown above. This will keep them turned off and thus the Green LED will not glow. But since the transistor Q2 is off the entire supply voltage gets divided between the resistor R1 and base of Q3. This makes the base voltage of Q3 to be 3V which is enough to turn it on. You can fine tune the base voltage a bit more by using the potentiometer also. If the transistor Q3 is turned on the Red LED will also glow as shown above.
Verifying the Circuit using a breadboard:
As said earlier, we are going to fabricate a PCB for this Lie Detector Project. Although simulation works as expected it is always recommended for beginners to test the circuit using a breadboard before actually fabricating a PCB. This way you can make sure circuit works as expected and the components are also available and working. My test circuit on breadboard looked something like this below
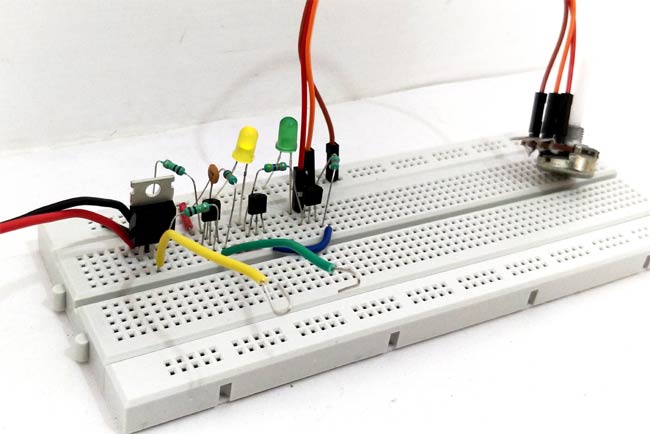
Once you are satisfied with your Breadboard build it time to proceed with PCB.
Circuit and PCB Design using EasyEDA:
To design this Lie detector Circuit, we have chosen the online EDA tool called EasyEDA. I have previously used EasyEDA many times and found it very convenient to use since it has a good collection of footprints and its open-source. Check here our all the PCB projects. After designing the PCB, we can order the PCB samples by their low cost PCB fabrication services. They also offer component sourcing service where they have a large stock of electronic components and users can order their required components along with the PCB order.
While designing your circuits and PCBs, you can also make your circuit and PCB designs public so that other users can copy or edit them and can take benefit from there, we have also made our whole Circuit and PCB layouts public for this Lie detector circuit, check the below link:
https://easyeda.com/circuitdigest/Lie_Detector_Circuit-7252ce09194f41c3a00fc32a97a0f73c
You can view any Layer (Top, Bottom, Topsilk, bottomsilk etc) of the PCB by selecting the layer form the ‘Layers’ Window.
You can also view the PCB, how it will look after fabrication using the Photo View button in EasyEDA:
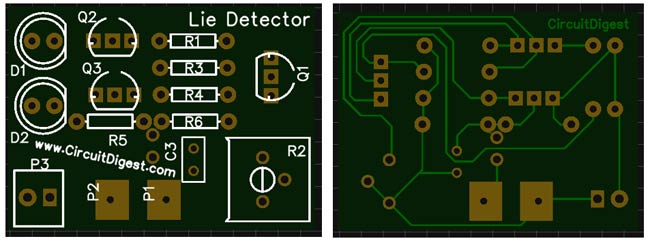
Calculating and Ordering Samples online:
After completing the design of this Lie Detector PCB, you can order the PCB through JLCPCB.com. To order the PCB from JLCPCB, you need Gerber File. To download Gerber files of your PCB just click the Fabrication Output button in EasyEDA editor page, then download from the EasyEDA PCB order page.
Now go to JLCPCB.com and click on Quote Now or Buy Now button, then you can select the number of PCBs you want to order, how many copper layers you need, the PCB thickness, copper weight, and even the PCB color, like the snapshot shown below:

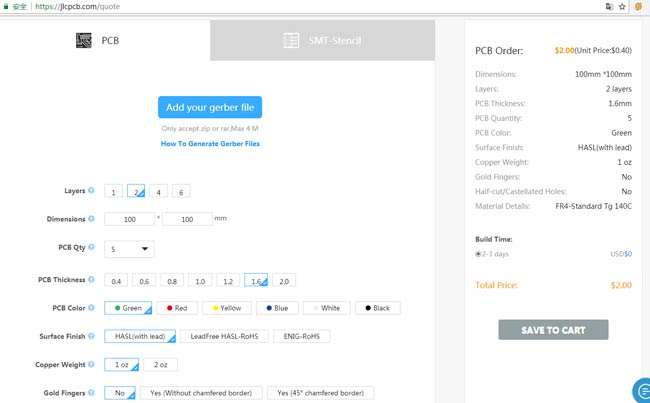
After you have selected all of the options, click “Save to Cart” and then you will be taken to the page where you can upload your Gerber File which we have downloaded from EasyEDA. Upload your Gerber file and click “Save to Cart”. And finally click on Checkout Securely to complete your order, then you will get your PCBs a few days later. They are fabricating the PCB at very low rate which is $2. Their build time is also very less which is 48 hours with DHL delivery of 3-5 days, basically you will get your PCBs within a week of ordering.
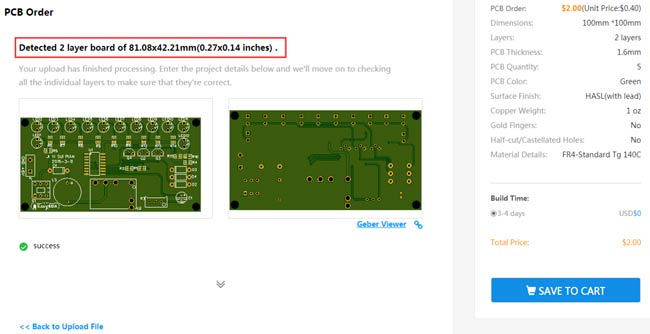
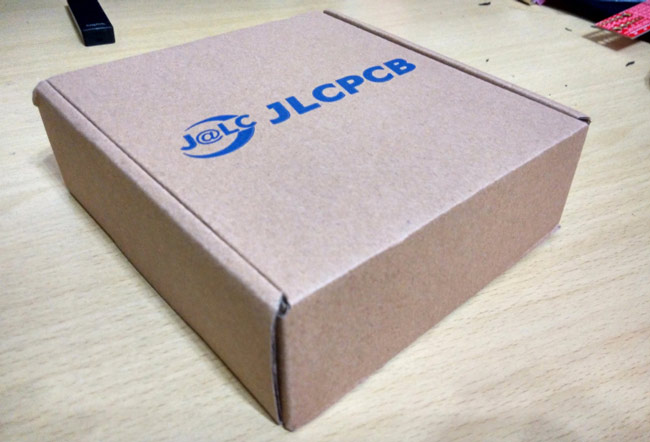
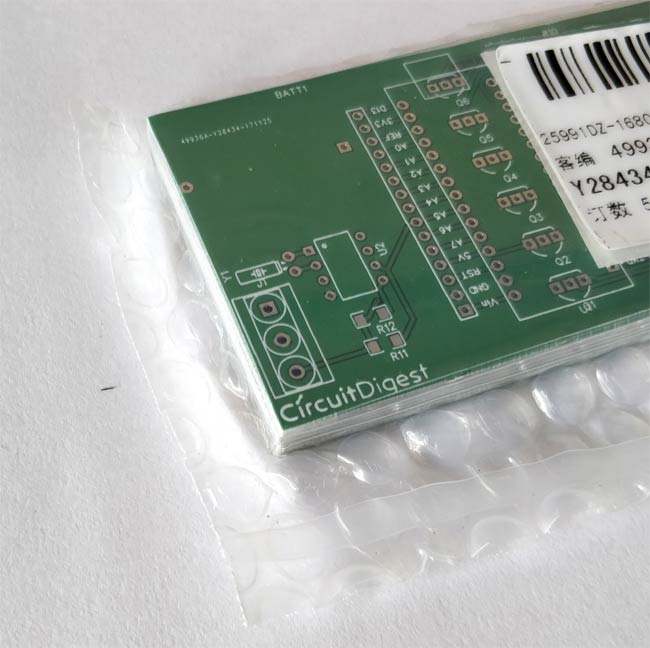
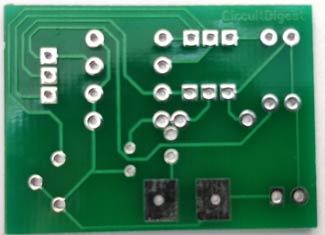
After few days of ordering PCB’s I got the PCB samples in nice packaging as shown in below pictures.
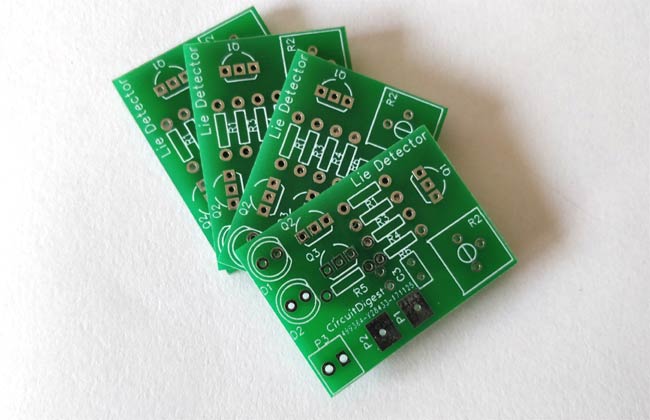
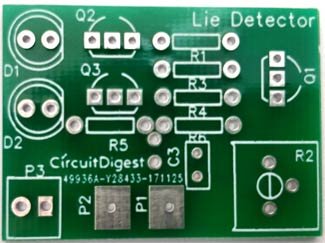
And after getting these pieces I have soldered all the required components over the PCB and attached a 9v Battery to it.
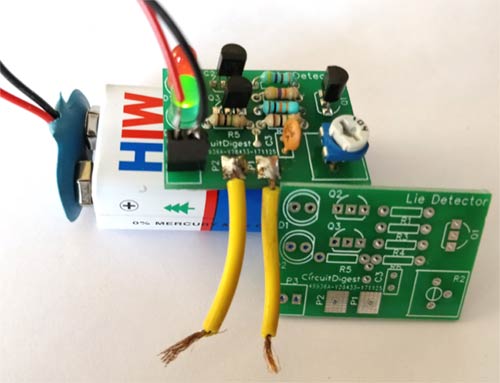
Lie Detector Circuit in Action:
Once you have assembled your board it’s time to have some fun. Just power it on with a 9V battery and you should see the green LED going high. If you short the two yellow wires the green LED should turn on and the red should turn on. If so then it means everything is working as expected. Now make sure there is a bit of moisture on your hand and place your finger on the wires, this should make the green LED to turn on and the red to turn off. If not then, adjust the potentiometer till the LED turns red.
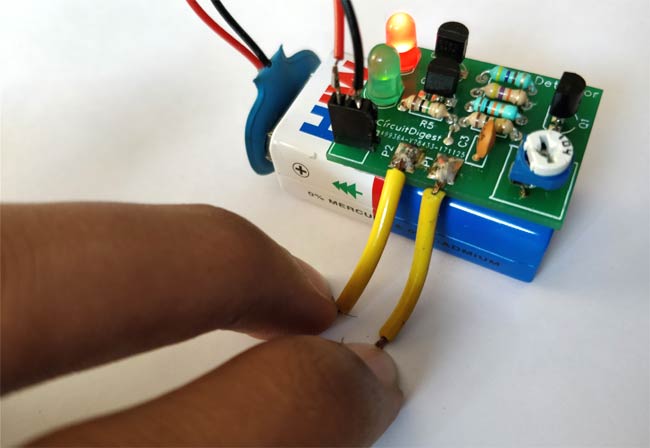
The complete working of the project can be found in the video given below. Now, that the circuit is calibrated and is ready for some prank. Since we have used a PCB the project is highly portable and hence you can take it to your friends and have some fun time using this. Hope you got the project working and learned something from this. Feel free to use the comment section below if you have any problem in getting this thing work.



It's fabulous Thanks for this idea