The ESP32 is a powerful, low-cost microcontroller that is widely used in the development of IoT projects. It is popular for its high processing power, low energy consumption, and built-in Wi-Fi and Bluetooth capabilities.
Bluetooth Classic is a wireless communication protocol that is used for connecting devices over short distances. It has been around for a long time and is commonly used in devices such as smartphones, laptops, and audio equipment
Using the ESP32's internal Bluetooth Classic module can be advantageous because it allows developers to easily incorporate Bluetooth Classic functionality into their projects without the need for an external module. This can simplify the design process and reduce costs, while still providing a reliable and high-performing Bluetooth Classic connection. Additionally, since the ESP32 is a versatile microcontroller, it can be used for a wide range of IoT projects that require Bluetooth connectivity.
Working with the Bluetooth Classic of ESP32
The ESP32's internal Bluetooth Classic module can be used to communicate with other Bluetooth Classic devices in several ways, including:
- Acting as a Bluetooth Classic server: The ESP32 can be set up as a server that listens for incoming connection requests from other Bluetooth Classic devices. Once a connection is established, data can be exchanged between the devices using the SPP or other profiles.
- Acting as a Bluetooth Classic client: The ESP32 can also be set up as a client that initiates connections to other Bluetooth Classic devices. Once a connection is established, the ESP32 can send and receive data to and from the other device.
- Bridging Bluetooth and Wi-Fi: The ESP32's internal Bluetooth Classic module can be used in conjunction with its Wi-Fi capabilities to create a bridge between Bluetooth and Wi-Fi networks. This allows devices to communicate with each other over Bluetooth, while still being able to connect to the internet and other network resources via Wi-Fi.
First, let’s check out the materials which we will require: -
- ESP32 board
- LED
- Resistor (220-ohm recommended)
- Breadboard
- Jumper Wires
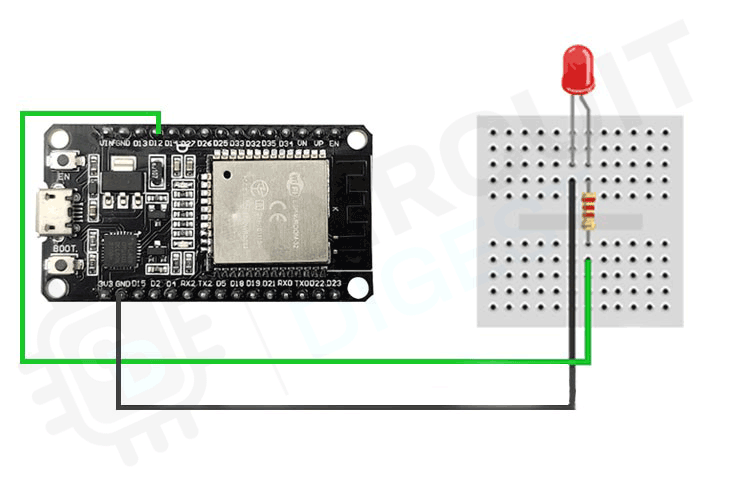
Circuit Diagram - ESP32 Bluetooth classic with LED
- Connect the long leg of the LED (positive) to one of the GPIO pins of the ESP32. For example, you can connect it to GPIO 12.
- Connect the short leg of the LED (negative) to the breadboard.
- Connect one end of the resistor to the short leg of the LED and the other end to the ground (GND) pin on the ESP32.
Setting up the Environment
The Arduino IDE provides a user-friendly interface for beginners and advanced users alike, allowing you to write and upload code to the ESP32 without requiring advanced knowledge of programming languages.
Here’s an in-depth tutorial that you can follow for this - Getting Started with ESP32 using Arduino IDE - Blink LED
Programming the ESP32
- Connect the ESP32 to your computer using a USB cable.
- Open the Arduino IDE, select the appropriate board and port, and create a new sketch.
- Copy the code from Code Section
- Upload the Code to the board
Arduino Code for ESP32 Bluetooth Classic Interfacing with LED
#include <BluetoothSerial.h>
BluetoothSerial SerialBT;
This code includes the BluetoothSerial library, which provides support for Bluetooth Classic communication on the ESP32. The BluetoothSerial object is then created to handle Bluetooth communication.
void setup() {
  SerialBT.begin("ESP32 LED"); //set the name of the Bluetooth module
  pinMode(2, OUTPUT); //set GPIO 2 as output
}
This is the setup() function that runs once when the ESP32 board is powered on or reset. Here, we are using the SerialBT.begin() function to start the Bluetooth Classic communication and set the name of the Bluetooth module to "ESP32". We are also using the pinMode() function to set GPIO 2 as an output pin, which means we can use it to send signals to the LED.
void loop() {
if (SerialBT.available()) {
if (c == '1') { //if the data is '1'
digitalWrite(2, HIGH); //turn LED on 4
SerialBT.println("LED on"); //send message back to app }
 if (c == '0') {
 //if the data is '0' digitalWrite(2, LOW); //turn LED off
SerialBT.println("LED off"); //send message back to app
} } delay(20); //delay for stability
}
This is the loop() function that runs continuously while the ESP32 board is powered on. It first checks if there is any data available to be read from the Bluetooth module using the SerialBT.available() function. If there is data available, it is read using the SerialBT.read() function and stored in the c variable. If the data is '1', the LED is turned on using the digitalWrite() function and a message "LED on" is sent back to the app using the SerialBT.println() function. Similarly, if the data is '0', the LED is turned off and a message "LED off" is sent back to the app. The delay() function is used to ensure stability in the program.
How to connect Bluetooth Serial Terminal App to ESP32 using Bluetooth Classic?
- Download the Bluetooth serial terminal app from play store.
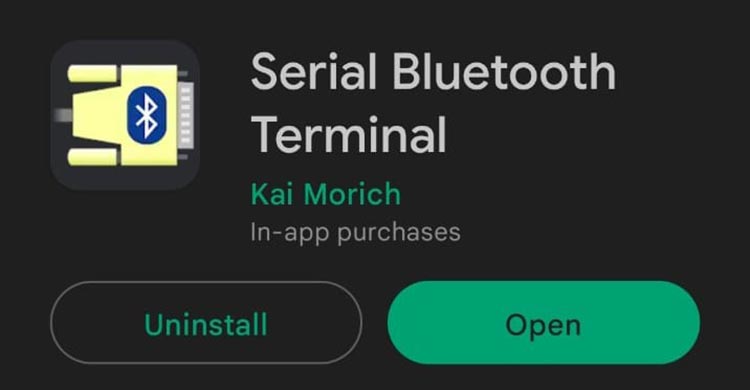
- Open the Bluetooth serial terminal app on your smartphone or for nearby Bluetooth devices. Connect to the ESP32 board by selecting it from the list of available devices.
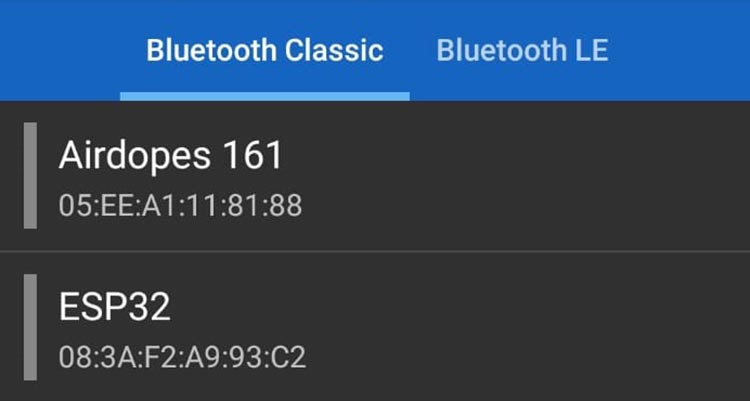
- Once connected, you can send commands to the ESP32 board by typing '1' to turn the LED on or '0' to turn it off in the Bluetooth serial terminal app. The LED should turn on and off accordingly

Conclusion
In this blog, we provided a comprehensive guide to using the ESP32 for Bluetooth communication. We covered how you can use ESP32 Bluetooth classis to control an LED. Make sure to create some fun projects with this and if you have any doubts let us know in the comments below
Project made by using ESP32
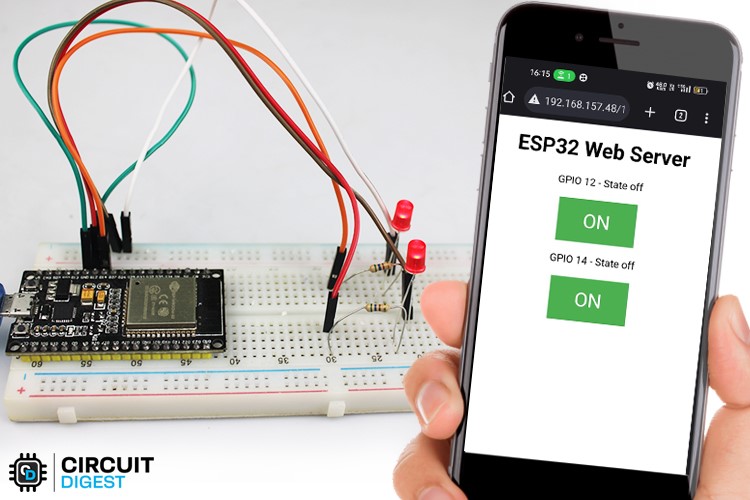
Are you looking for a fun and creative DIY project? Look no further than building your own LED webserver with an ESP32 board! Follow our tutorial and learn how to make your LED light up from anywhere, using just your smartphone or computer.
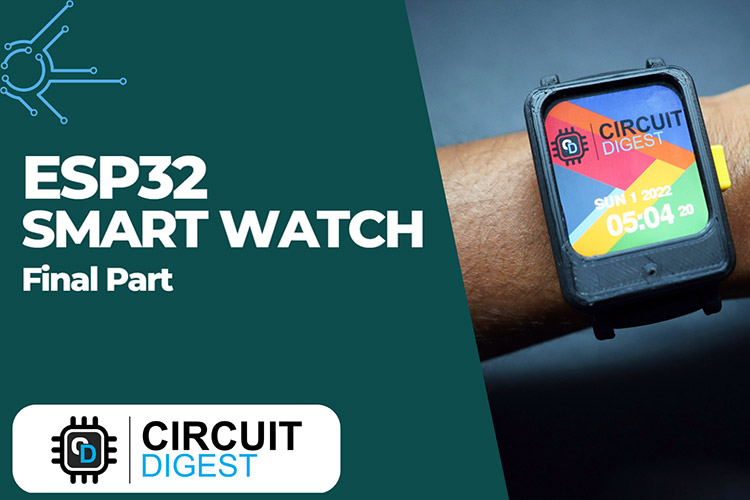
Why settle for a regular watch when you can build a DIY ESP32 Smartwatch? With the ability to switch between multiple watch faces, monitor your heart rate, navigate with a compass, and play games, you'll never want to take it off!
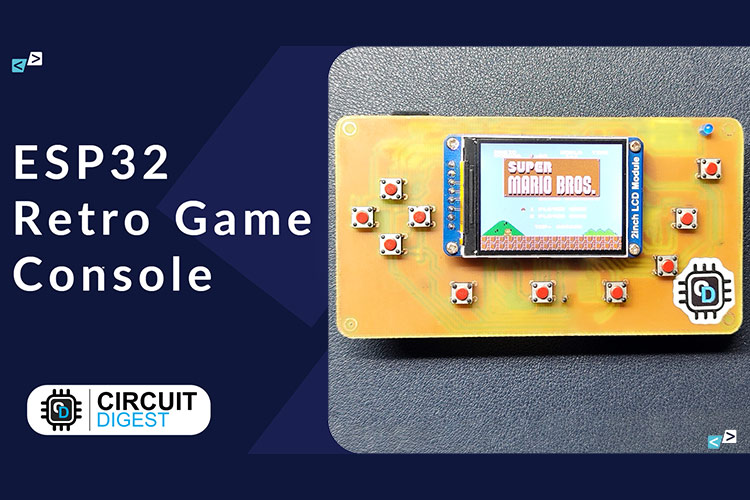
Looking for a fun and creative project to try? Build your own handheld gaming console and relive the nostalgia of classic video games with this easy-to-follow ESP32 tutorial!
#include <BluetoothSerial.h>
BluetoothSerial SerialBT;
void setup() {
SerialBT.begin("ESP32 LED"); //set the name of the Bluetooth module
pinMode(2, OUTPUT); //set GPIO 2 as output
}
void loop() {
if (SerialBT.available()) { //check if data is available
char c = SerialBT.read(); //read the data
if (c == '1') { //if the data is '1'
digitalWrite(2, HIGH); //turn LED on
SerialBT.println("LED on");
}
if (c == '0') { //if the data is '0'
digitalWrite(2, LOW); //turn LED off
SerialBT.println("LED off");
}
}
delay(20); //delay for stability
}

