TeamViewer is one of the most commonly used software to access the screen of some other computer remotely. It is same as RealVNC but with more features, like in RealVNC you can do text messaging and video conferencing while accessing the systems. TeamViewer is hugely popular for giving remote access of your system to others for troubleshooting or some other work. This application is frequently used by support teams as it makes it lot easier to diagnose and fix the problems. This is the best way to manage the systems if you have multiple users or different offices at different locations as you can manage all your users from one location.
In this tutorial, we will install TeamViewer in Raspberry Pi to access the its Desktop from anywhere in the world. It is noted that standard version of TeamViewer is not officially available for Raspberry Pi and it is a completely different process to install full version in Raspberry Pi. Also the full version is not stable and won’t works sometimes. So here we will install TeamViewer Host on Raspberry Pi. It is designed only to only receive connections from other computers i.e. you cannot access others screen from Raspberry Pi but Raspberry Pi screen can be accessed from other systems.
Requirements
- Raspberry Pi 2 or newer (with Raspbian Jessie or newer installed in it).
- Working Internet Connection
Here, we will use SSH to access Raspberry Pi on the laptop. You can use VNC or Remote Desktop connection on the laptop, or can connect your Raspberry pi with a monitor. Learn more about setting up Raspberry Pi headlessly here without a monitor.
Installing TeamViewer on Raspberry Pi
1. Before installing the TeamViewer, we have to ensure that our installed packages and OS are up to date. To do this, run the below commands one by one.
sudo apt-get update
sudo apt-get upgrade
2. After upgrading the packages on Raspberry Pi, go ahead and download the software packages from TeamViewer server using wget command. The downloaded file will be a .deb file which is an archive file containing all the required packages for TeamViewer.
wget https://download.teamviewer.com/download/linux/teamviewer-host_armhf.deb
3. Now, install the downloaded file using dpkg command.
sudo dpkg -i teamviewer-host_armhf.deb
4. After installing, there will be some errors about packages not being installed shown on terminal. We have to fix these errors using package manager to repair the files. Run the following command to fix the errors.
sudo apt --fix-broken install

5. Now, if TeamViewer is installed and running on Raspberry Pi properly. It will be automatically start with every boot of Raspberry Pi. So you don’t need to start it manually using commands.
Configuring TeamViewer on Raspberry Pi
1. Now, we have to setup a password for TeamViewer. It can be setup either by using command line or using GUI. On terminal, it can be done using below command
sudo teamviewer passwd <password>
Keep your password secure as it can allow someone to access your Pi if they get your TeamViewer ID.
2. After setting up password, we need TeamViewer ID to make the connection between Raspberry Pi and the system. To get the TeamViewer ID , run the below command
teamviewer info
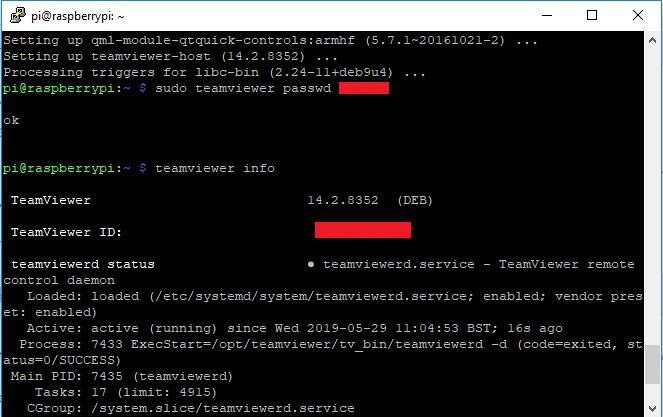
Save the ID somewhere, we will need it when we connect Raspberry Pi with the system.
3. Alternatively, if you have TeamViewer account then you can get the access easily without setting password or ID.
Run the below command and enter your credentials.
sudo teamviewer setup
You will be asked to accept license agreement, follow the steps as shown on the screen and enter your credentials. If you are using GUI for setup, click on TeamViewer icon on taskbar.
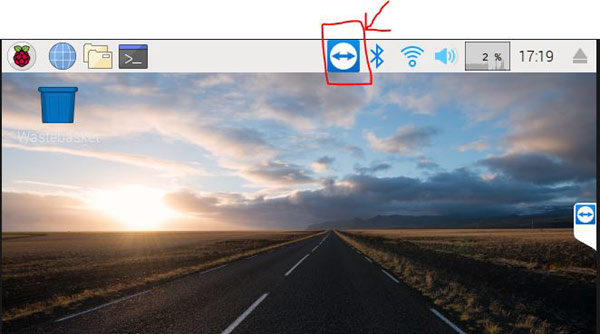
If you want to rely on TeamViewer ID then click on set a personal password or if you want to get an easy access then go ahead and click on Grant easy access and enter your TeamViewer credentials.
Now, we are ready to access the Raspberry Pi remotely from computer.
Connecting with Raspberry Pi remotely using TeamViewer
1. To get the access of Raspberry Pi on other system we have to install TeamViewer software in it. So, download the software from this link and install it.
2. Open the TeamViewer in PC and you will see the following window. Now, you have to enter the TeamViewer ID of Raspberry Pi in Partner ID space.
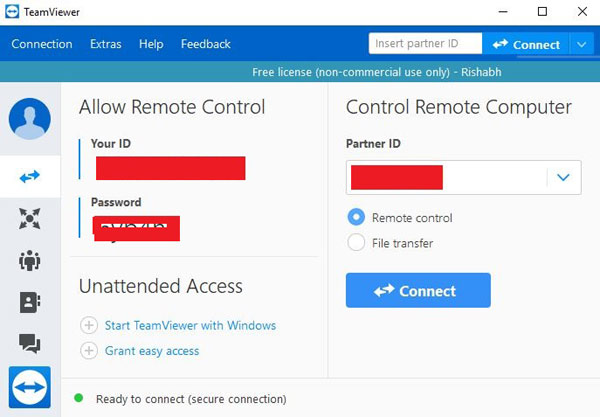
3. Enter the TeamViewer ID of Raspberry pi and click on connect. Then it will ask for password that you have set in Raspberry pi, enter the password and click OK. If all the settings are correct then you will see Raspberry Pi desktop in a window as shown.
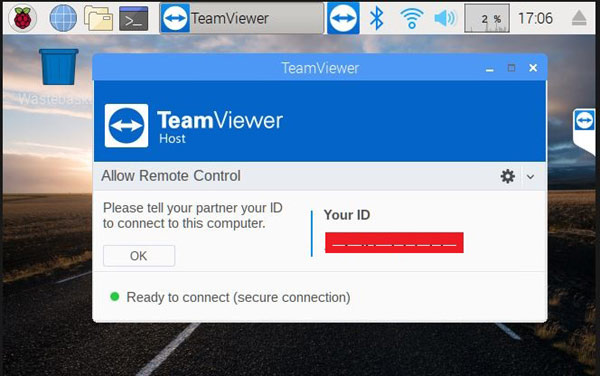
4. Now, you can control and access all the files of your Raspberry Pi remotely and can also chat with the other user as shown below.
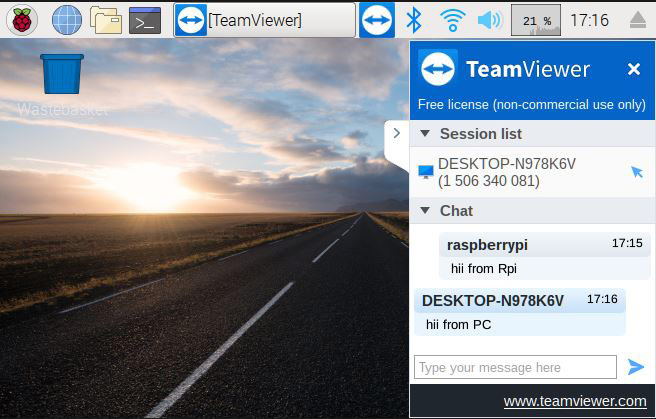
This is how we can access the Raspberry Pi desktop remotely by installing the TeamViewer host package in Raspberry Pi.
Check the working video below.


